
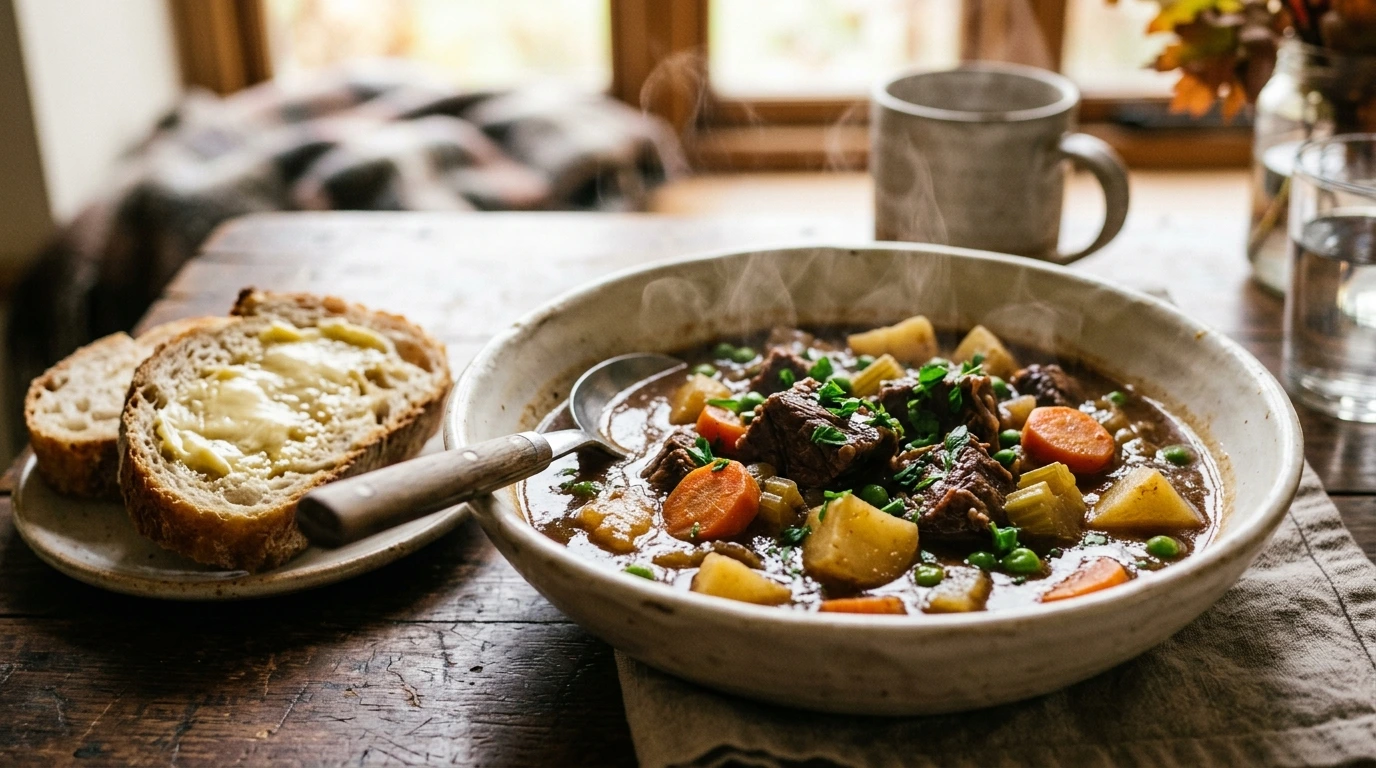
Homemade Beef Stew (Rich, Tender, and Better Than Any Shortcut Version)
Table of Contents
There’s no trick to real homemade beef stew — no shortcut that skips the work. It’s a cheap cut of beef, real heat applied for real time, and a handful of steps that are easy to rush past. This version works stovetop, oven, Instant Pot, or slow cooker, with the technique details below the recipe if you want to know why each step matters — the difference between homemade stew and the canned version is almost entirely in these details.
How Long Does Beef Stew Take? (By Method)
| Method | Time | Notes |
|---|---|---|
| Stovetop (covered, low simmer) | 2–2.5 hrs | Lazy bubbles, not a boil |
| Oven braise (325°F / 165°C) | 2.5–3 hrs | Most forgiving — even heat, minimal attention |
| Instant Pot | 35–40 min high pressure + 15 min natural release | Fastest; see the note in the recipe |
| Slow cooker | Low 8–9 hrs, or High 4–5 hrs | Sear on the stovetop first regardless |
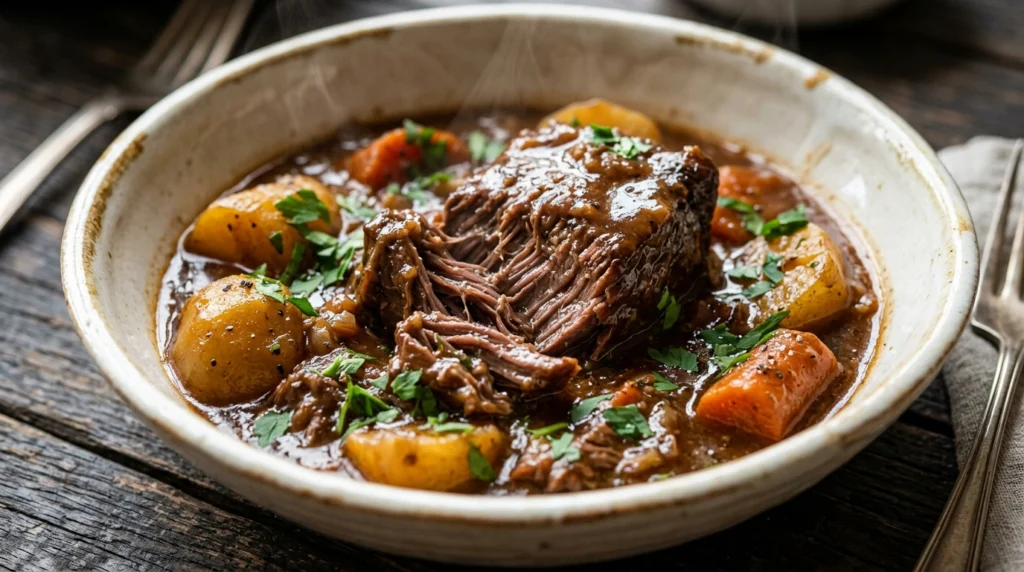
Done means a fork slides in and twists free with almost no resistance — not just soft, genuinely falling apart. That’s collagen breaking down into gelatin, and it can’t be rushed at any of these settings.
Recipe Card: Homemade Beef Stew
Prep Time: 20 min · Cook Time: 2.5–3 hrs · Total Time: ~3 hrs · Servings: 6 · Calories: ~430 per serving (estimate — see note below)
Equipment: Dutch oven or heavy pot with a lid · wooden spoon ·
Ingredients
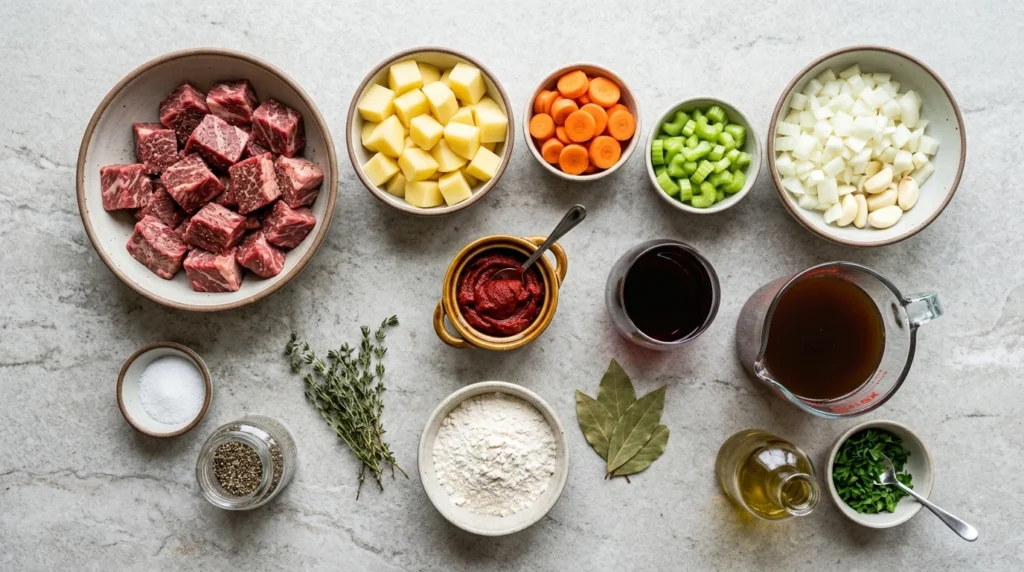
- 1.3kg (about 3 lbs) beef chuck, trimmed of large fat chunks, cut into 1-inch cubes
- 1 tsp salt, 1/2 tsp black pepper (plus more later)
- 3 tbsp flour, for dredging
- 3 tbsp neutral oil, divided
- 1 large onion, diced
- 3 carrots, cut into chunks
- 3 celery stalks, sliced
- 4 cloves garlic, minced
- 2 tbsp tomato paste
- 1 cup (240ml) dry red wine (Cabernet Sauvignon or Merlot — see FAQ for a substitution if you’d rather skip it)
- 4 cups (1L) low-sodium beef stock
- 2 bay leaves
- 1 tsp dried thyme
- 700g (1.5 lb) Yukon Gold potatoes, cut into large chunks
- 1 cup (150g) frozen peas
- 1 tbsp red wine vinegar or lemon juice, to finish
- Fresh parsley, chopped
Instructions
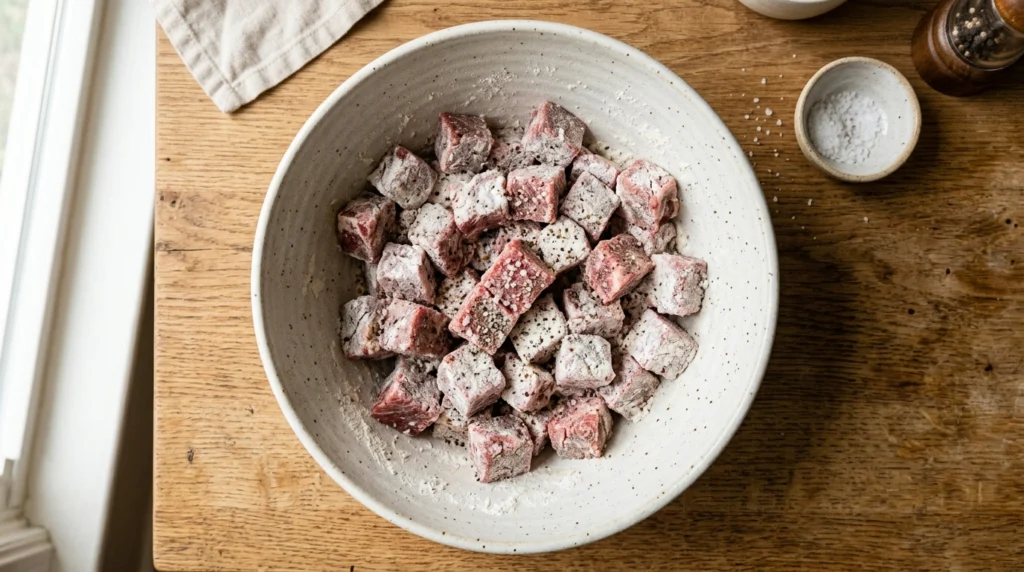
- Toss the beef with salt, pepper, and flour until lightly coated.
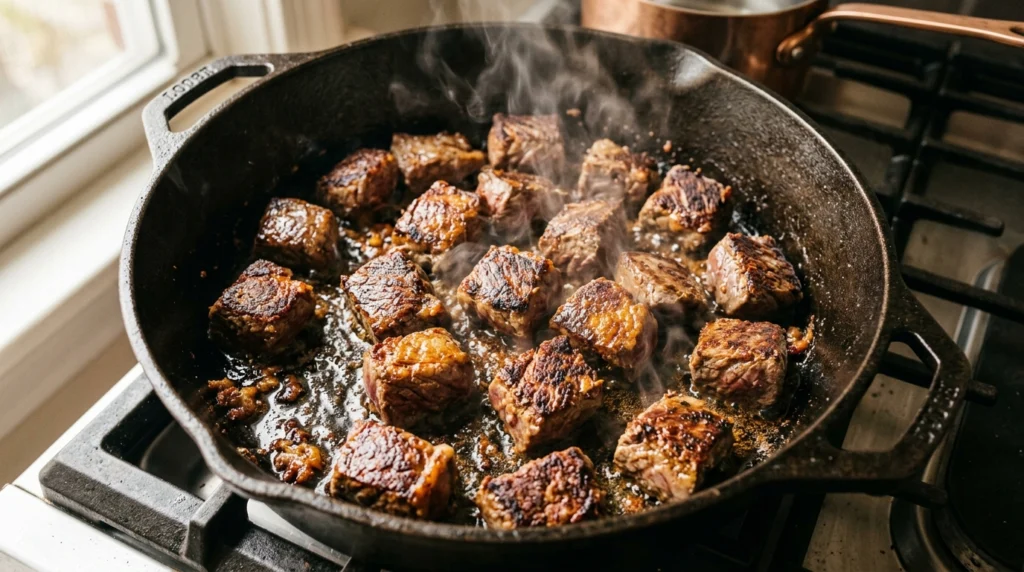
- Heat 1 tbsp oil in a Dutch oven over medium-high. Sear beef in batches, without crowding the pot, 2–3 minutes per side until deeply browned. Set aside as you go, adding oil between batches.
- Same pot: onion, carrots, celery, 5–6 minutes until the onion turns translucent. Garlic and tomato paste, 1–2 minutes.
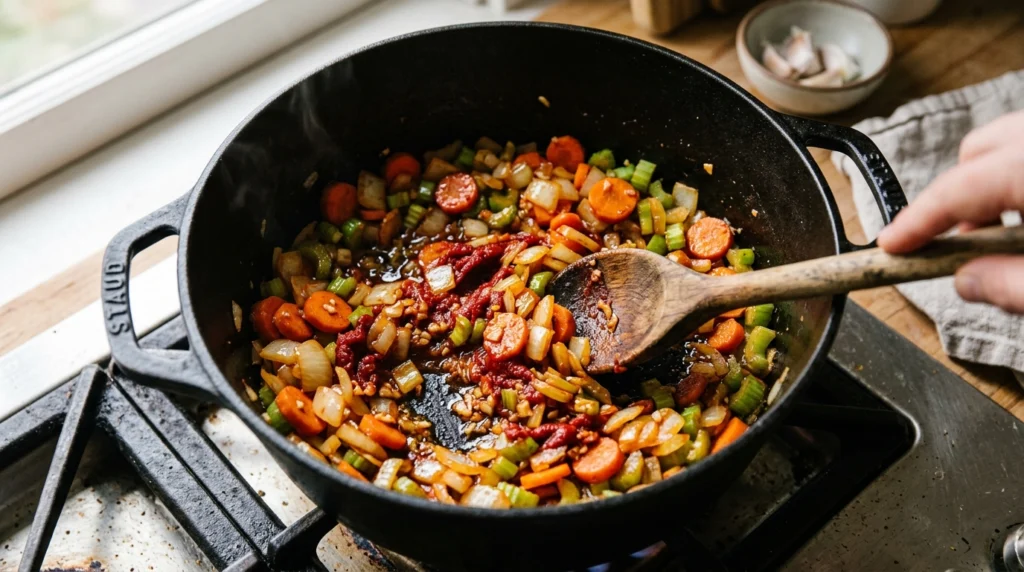
- Pour in the wine, scraping up the browned bits from the bottom of the pot. Let it bubble and reduce by about half, 2–3 minutes.
- Beef back in with its juices, plus stock, bay leaves, and thyme. Bring to a boil, then drop to a bare simmer, cover, and cook 2–2.5 hours on the stovetop or 2.5–3 hours at 325°F (165°C) in the oven.
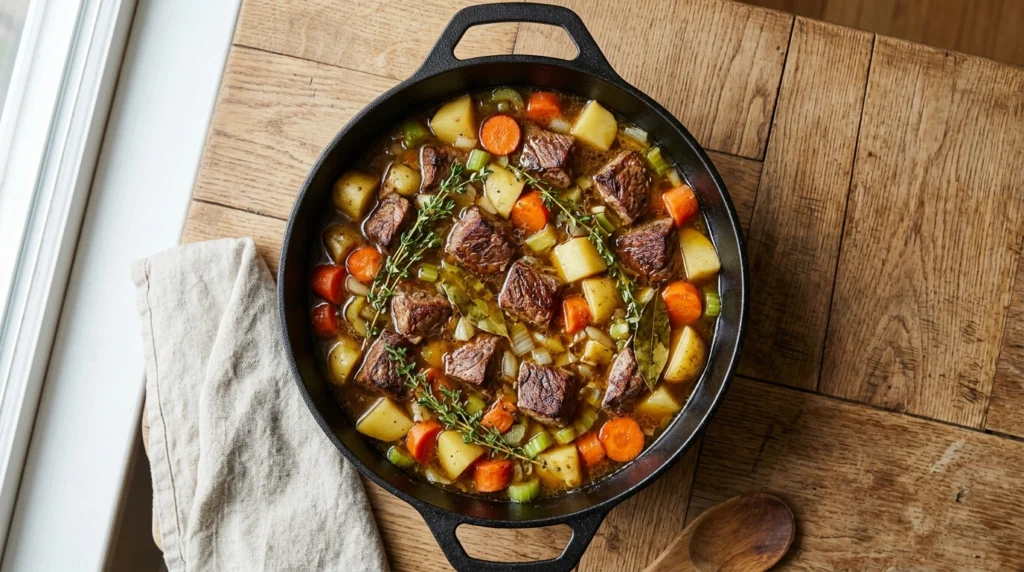
- Stir in the potatoes about 45 minutes before the beef is done.
- Once the beef passes the fork test, stir in the peas and the vinegar or lemon juice. Taste, adjust salt, parsley on top.
For Instant Pot and slow cooker versions, see the Adapting This Recipe section below.
Nutrition information is an estimate and will vary depending on the exact cut of beef, trimming, and serving size. [Run the final ingredient list through your recipe plugin’s nutrition calculator rather than publishing hand-calculated numbers — see the publishing checklist for the derivation used here, kept off the visible page per standard practice for nutrition-adjacent claims.]
What Makes This Actually Homemade (Not Just Homemade-Adjacent)
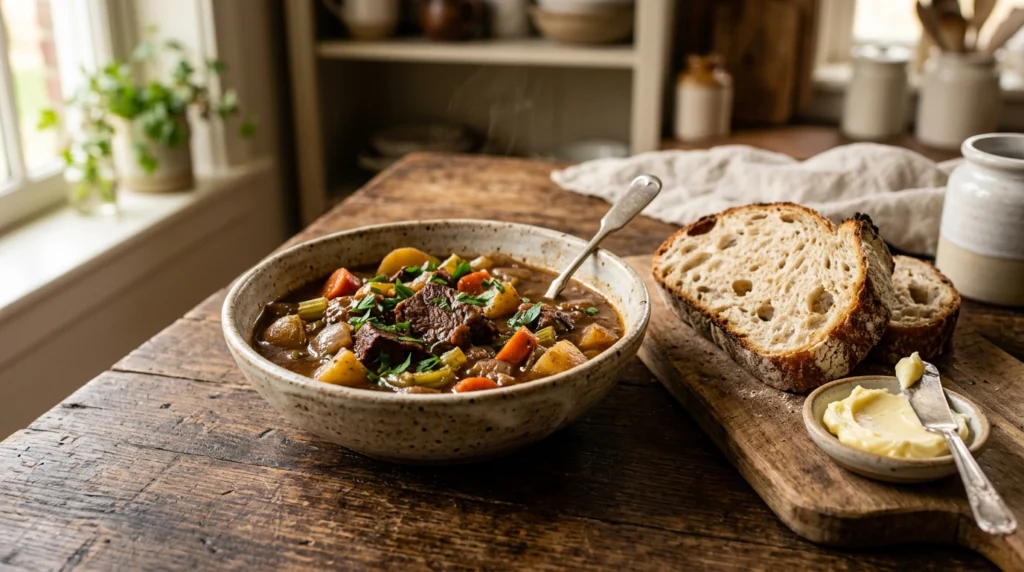
A lot of recipes calling themselves “homemade” still lean on shortcuts — pre-cooked meat, a gravy packet, no real sear, everything dumped in at once and simmered until it’s technically done. This version doesn’t take those shortcuts: chuck roast (the right cut for the job), a proper batch-seared crust, and a slow simmer that has time to actually build a rich gravy from scratch, with nothing pre-made added to fake the depth. It takes longer than the shortcut version. That’s most of why it tastes like it was actually made at home instead of just finished there.
The Technique Behind It
Why the sear matters. Searing isn’t just about color — it’s the Maillard reaction, the same chemistry behind the crust on bread or a good steak, and it produces flavor compounds that don’t exist in meat that’s only ever been simmered in liquid. Two things wreck it: wet meat (pat it dry, or the surface steams instead of browning) and a crowded pan (too much beef at once drops the temperature and does the same thing). Small batches, hot pan, patience.
Choosing potatoes that won’t turn to mush.
- Yukon Gold — stays creamy without falling apart. The default in the recipe above.
- Red / red bliss — waxy skin, holds shape even longer.
- Russets — the opposite choice on purpose: they break down and thicken the broth as they cook, if you want a naturally thicker stew without a separate thickening step.
Adapting this for an Instant Pot or slow cooker.
Instant Pot: do steps 1–4 using the sauté function, then pressure cook on high for 35–40 minutes with a 15-minute natural release. Cut the stock to about 3 cups instead of 4, since a sealed pressure cooker doesn’t lose liquid to evaporation the way an open pot does.
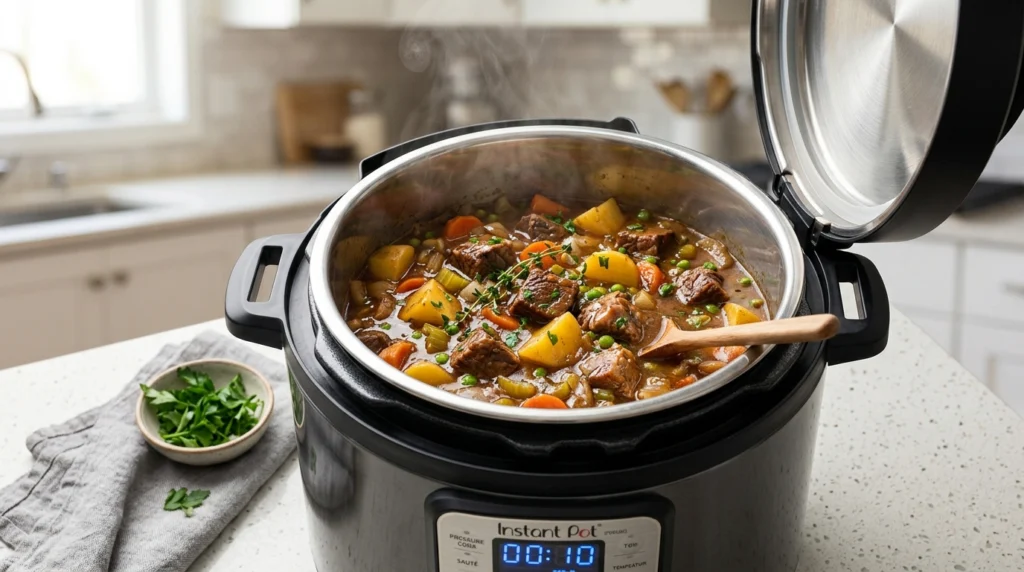
Instant Pot note: stew is thicker than soup, so allow a natural release when possible — it reduces the chance of hot liquid spitting through the valve during a quick release.
Slow cooker: sear the meat and build the base on the stovetop first (steps 1–4) — a slow cooker’s gentle heat won’t replicate a real sear, so skipping this is the biggest reason slow-cooker stew tastes flatter than stovetop. Transfer everything in, cook Low 8–9 hours or High 4–5 hours, adding potatoes in the final 1–1.5 hours.
Thickening it further, if you want it thicker than the dredge alone gives you.
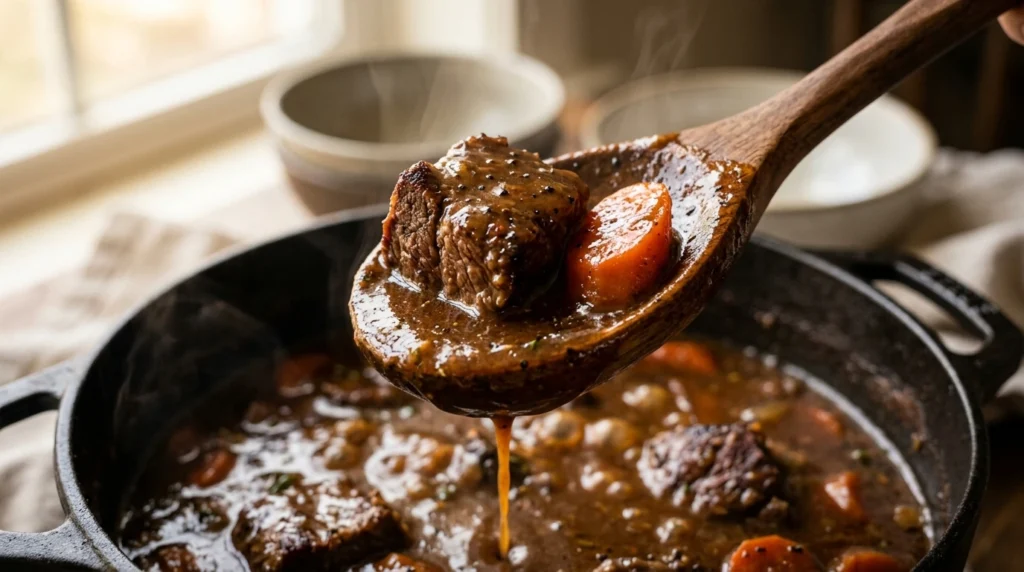
- Roux — equal parts butter and flour, cooked separately until light golden and nutty, whisked with a ladle of hot stew liquid, then stirred back in. Most stable result.
- Cornstarch slurry (gluten-free) — 1 tbsp cornstarch + 1 tbsp cold water, stirred in during the last few minutes.
- Arrowroot — similar to cornstarch, works at a lower temperature and holds up a little better on reheat.
- Just reduce it — simmer uncovered the last 15–20 minutes. No thickener needed, but the flavor (including the salt) concentrates too — taste as you go.
Common Mistakes (And Why They Happen)
| Problem | Cause | Fix |
|---|---|---|
| Tough, chewy beef | Not simmered long enough | Keep going — the fork test doesn’t lie, there’s no shortcut around time |
| Mushy vegetables | Potatoes/carrots added too early | Add root vegetables in the last 45 min–1 hr, not at the start |
| Flat, one-note flavor | Skipped the sear, or no acid at the end | Sear properly; finish with vinegar or lemon juice |
| Thin, watery broth | Too much liquid, or Instant Pot using stovetop liquid amounts | Reduce uncovered, or use the adjusted Instant Pot quantity |
| Greasy on top | Beef not trimmed of large fat pieces first | Trim big fat chunks before cooking — some marbling is good, big pockets aren’t |
Storage and Reheating
Cool within 2 hours, refrigerate airtight 3–4 days, or freeze up to 3 months — per USDA guidance. (Matches the storage standard used across our other slow-cooked recipes, like the Crock Pot Chicken Breast guide .) Reheat gently over low heat with a splash of water or broth to loosen the sauce — high heat risks toughening the meat again. Like most braises, it’s genuinely better on day two.
FAQ
What’s the best cut of beef for stew? Chuck, without much competition. It has enough connective tissue to break down into gelatin over a long cook, which is what makes the texture silky instead of dry. Leaner cuts like sirloin have almost none of that collagen — cooked the same way, they turn dry and stringy instead of tender.
Why is my beef stew meat tough? Almost always: not simmered long enough. Tough, chewy chuck at the end of the cook time isn’t a sign to stop — it’s a sign the collagen hasn’t finished breaking down yet. Keep it at a bare simmer and check again in 20–30 minute increments until the fork test passes.
Can I make beef stew ahead of time? Yes — and it’s genuinely better the next day, since the flavors keep developing in the fridge overnight. Reheat gently with a splash of broth to bring the sauce back to consistency.
Can I freeze beef stew? Yes, up to 3 months in an airtight container. It freezes well since there’s no dairy in this version to separate on thawing. Thaw in the fridge overnight before reheating.
Can I make this without wine? Yes — swap the cup of wine for an equal amount of extra beef stock, plus a teaspoon of red wine vinegar for some of the acidity the wine would have added.
Can I double this recipe? Yes, but sear the meat in a separate pan if your pot isn’t large enough to avoid crowding — that step doesn’t scale well in an undersized pot.
Can I use a different thickener if I’m avoiding gluten? Yes — skip the flour dredge (sear as-is, slightly less crust) and use the cornstarch or arrowroot method in the Technique section instead.
The Takeaway
Real homemade beef stew rewards patience more than skill — a proper sear, a real deglaze, enough time for the chuck to actually break down, vegetables added at the right moment. None of it is difficult; it’s steps that are easy to rush past. Do the sear right and give it the time it needs, and the rest mostly takes care of itself.
Looking for more slow-cooked, high-protein comfort food? Our High Protein Beef Chili uses a lot of the same searing and deglazing technique in under an hour instead of three.
The first time I made this, I thought the beef was done when it looked tender — but it still had that faint chewy resistance that tells you the collagen hasn’t fully broken down. The difference came when I stopped watching the clock and started actually testing with a fork instead of guessing by eye.