
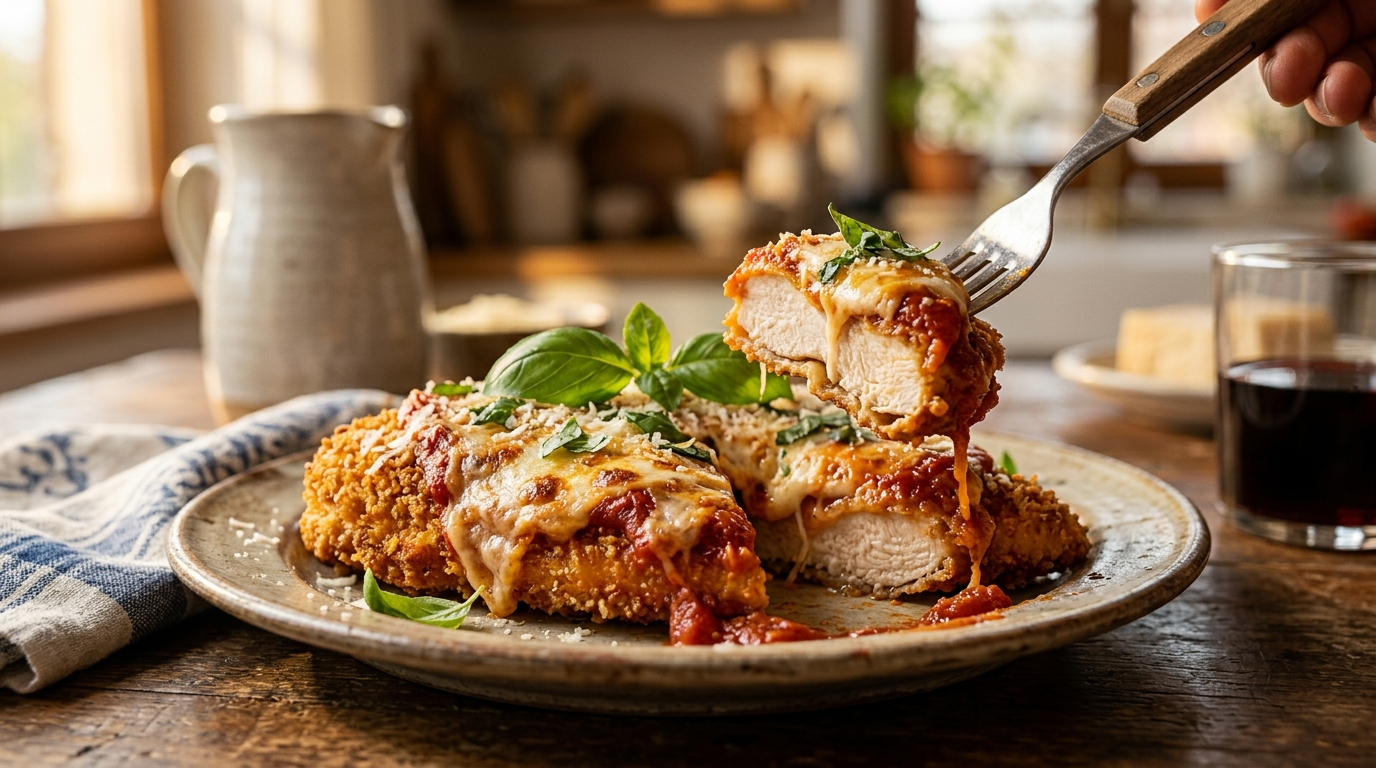
Healthy Chicken parmesan recipe: simple step-by-step cooking guide
Table of Contents
A lighter, oven-baked version of the Italian-American classic — tested through four batches until the crust stopped going soft.
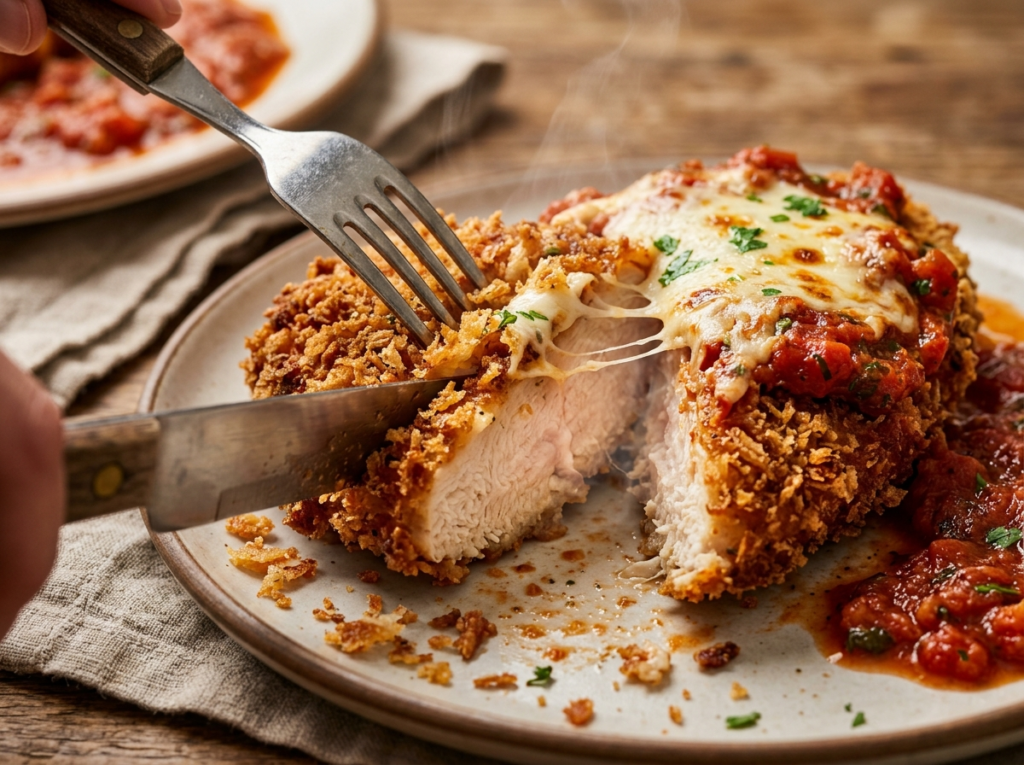
I used to make chicken parmesan the way my grandmother did: dredge, deep-fry, drown in sauce and cheese, bake until the cheese browns. It’s a great dinner and a rough Tuesday. A few years ago I started rebuilding it as an oven-baked version, mostly because I got tired of cleaning oil splatter off my stovetop. The first two attempts came out with a soggy bottom crust. The third attempt, where I started using a wire rack and drying the chicken properly, is the version below. I’ve made it close to a dozen times since, and it’s now the only way I make this dish.
This isn’t a stripped-down “diet” version that sacrifices flavor. It’s the same crispy, cheesy, saucy dinner — just baked instead of fried, with a homemade sauce so you control the sodium and sugar. Below is the exact recipe with measurements, plus the technique notes that actually mattered when I tested it.
Why Bake Instead of Fry
Deep-frying chicken parmesan adds a lot of oil weight to a dish that’s already rich with cheese and sauce. Baking it on a wire rack gets you most of the way to that crispy texture because hot air circulates under the chicken instead of trapping steam against a baking sheet. You lose a little of the shatter-crisp you get from oil, but you gain a meal that doesn’t leave you feeling heavy — and a kitchen that doesn’t smell like a fryer for the rest of the night.
The other lever is the sauce. Jarred marinara is often high in added sugar and sodium because both make a mediocre tomato taste better. A 20-minute homemade sauce with canned whole tomatoes, garlic, and olive oil costs you almost no extra time and tastes noticeably fresher.
Ingredient Notes Before You Start
- Chicken breasts: buy them roughly the same size, or plan to pound them to an even thickness — this matters more than any other single step for getting juicy chicken.
- Panko breadcrumbs: they crisp up lighter and crunchier than standard breadcrumbs because the flakes are larger and drier. Regular breadcrumbs will work but the crunch is noticeably softer.
- Cheese: part-skim mozzarella melts almost identically to whole-milk mozzarella but with less grease pooling on top. Use a block and shred it yourself — pre-shredded cheese is coated in anti-caking starch that affects how it melts.
- Tomatoes: whole peeled canned tomatoes, crushed by hand, taste fresher than pre-crushed canned tomatoes. San Marzano-style is worth it if your grocery store carries it, but any whole peeled tomato works.
The Recipe
At a Glance
| Prep Time | Cook Time | Total Time | Servings |
| 20 minutes | 25 minutes | 45 minutes | 4 |
Ingredients
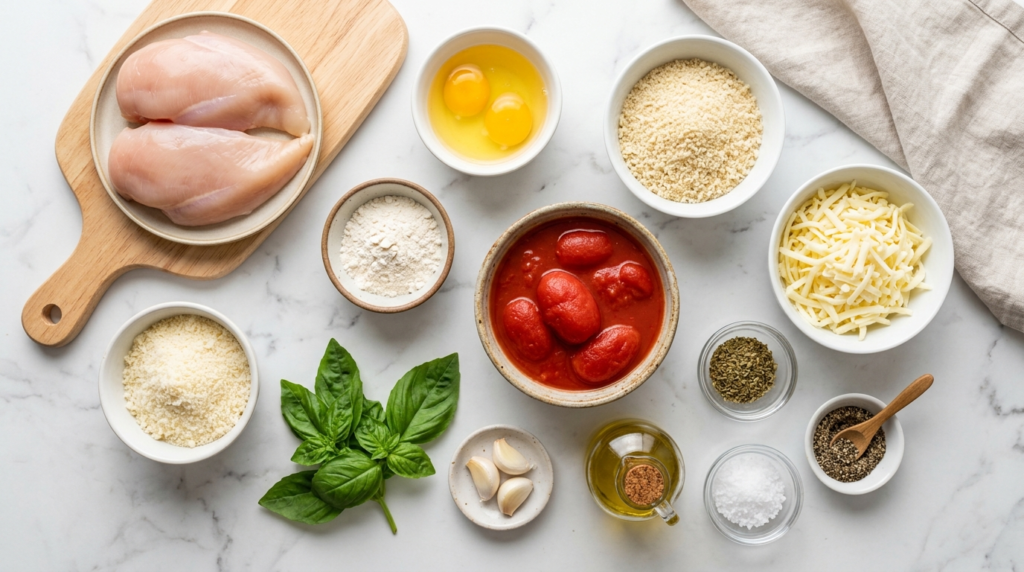
For the chicken:
- 4 boneless, skinless chicken breasts (about 6 oz / 170 g each), pounded to ½ inch thick
- ¾ teaspoon kosher salt
- ¼ teaspoon black pepper
- ½ cup all-purpose flour
- 2 large eggs
- 1 tablespoon water
- 1 cup panko breadcrumbs
- ⅓ cup grated Parmesan, divided
- 1 teaspoon dried oregano
- ½ teaspoon garlic powder
- Olive oil spray
For the sauce:
- 1 tablespoon olive oil
- 3 garlic cloves, minced
- 1 can (28 oz / 800 g) whole peeled tomatoes, crushed by hand
- ½ teaspoon dried basil
- ¼ teaspoon red pepper flakes (optional)
- ¼ teaspoon salt, more to taste
To finish:
- 4 oz (115 g) part-skim mozzarella, shredded (about 1 cup)
- 2 tablespoons fresh basil, torn
Instructions
Make the sauce (can be done up to 3 days ahead):
- Heat olive oil in a saucepan over medium heat. Add garlic and cook 30 seconds, until fragrant but not browned.
- Add crushed tomatoes, basil, red pepper flakes, and salt. Simmer uncovered for 15 minutes, stirring occasionally, until slightly thickened. Taste and adjust salt.
Prepare and bake the chicken:
- Preheat oven to 400°F (200°C). Set a wire rack inside a rimmed baking sheet and spray it lightly with olive oil.
- Pat chicken breasts completely dry with paper towels. This step matters — any surface moisture steams the breading instead of letting it crisp. Season both sides with salt and pepper.
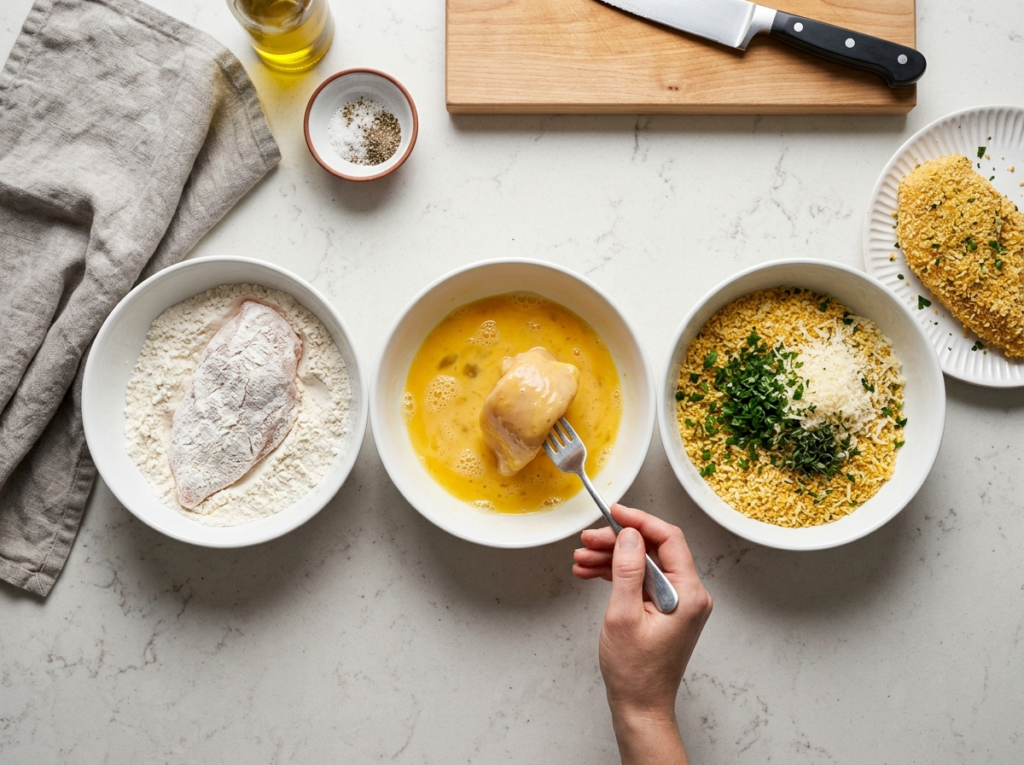
- Set up three shallow bowls: flour in the first; eggs whisked with the water in the second; panko mixed with 3 tablespoons of the Parmesan, oregano, and garlic powder in the third.
- Dredge each chicken breast in flour, shaking off the excess. Dip in egg, letting excess drip off. Press firmly into the panko mixture on both sides so the coating sticks.
- Place breaded chicken on the wire rack, spaced apart. Spray the tops lightly with olive oil — this is what browns the crust without frying.
- Bake for 18-20 minutes, until the internal temperature reaches 160°F (71°C) and the crust is golden.
- Remove from the oven. Top each piece with 2-3 tablespoons of sauce, then the shredded mozzarella and remaining Parmesan. Return to the oven for 5-7 minutes, until the cheese is melted and the internal temperature reaches 165°F (74°C).
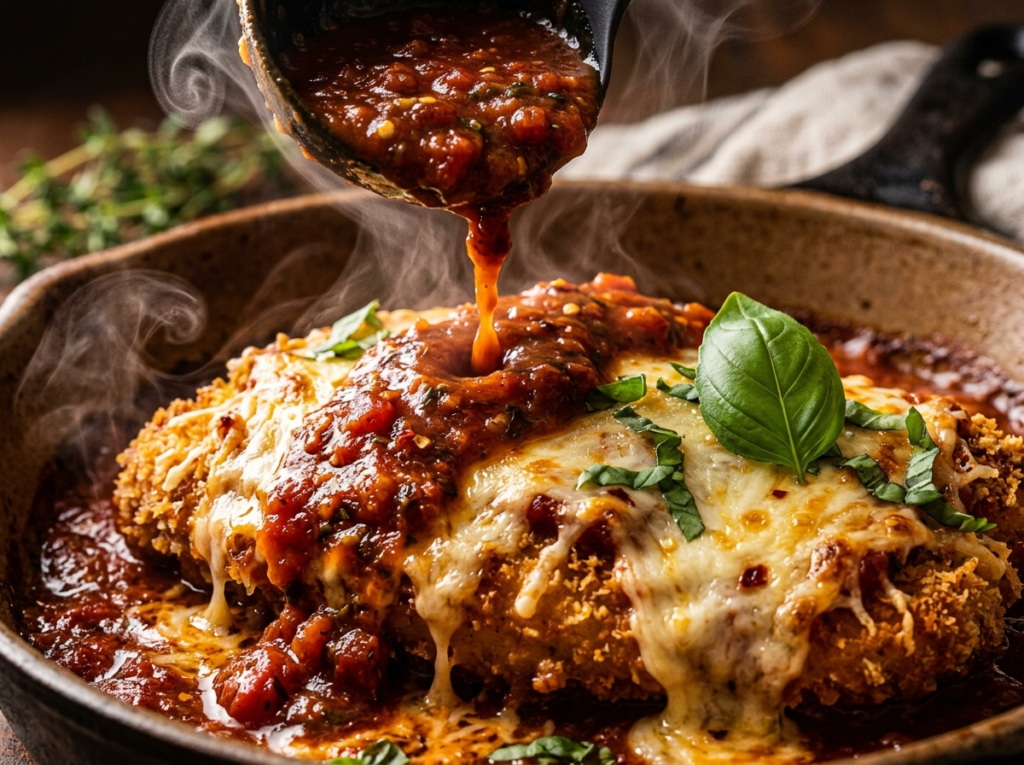
- Let rest 3 minutes, scatter with fresh basil, and serve with the remaining sauce on the side.
The wire rack is not optional. I tried this recipe directly on a baking sheet once and the bottom of the crust turned gummy within ten minutes of the chicken coming out of the oven. The rack is a $12 fix for that.
Equipment I Used
A couple of tools made a real difference in how this recipe turned out — not in a “you must buy this” way, but enough that I’d mention them if a friend asked how I made it.
- Wire cooling rack — [Nordic Ware Oven Crisp Baking] — this is the one piece of equipment the whole recipe depends on. Without it, the bottom of the crust steams instead of crisping.
- Instant-read meat thermometer — [Digital Meat Thermometer Instant Read] — I stopped guessing doneness once I started using this. Pulling the chicken at the right internal temperature is the difference between juicy and dry.
- Box grater — [Cheese Grater With Container Box] — for shredding the mozzarella block yourself, which melts noticeably better than pre-shredded bags.
(Links are affiliate links — if you buy through them, it doesn’t cost you anything extra, but it helps support the recipes I post here. I only link things I’ve actually used.)
Storage and Reheating
Cool leftovers to room temperature before refrigerating — sealing hot chicken traps steam and softens the crust. Store in an airtight container for up to 3 days.
To reheat, skip the microwave. Put pieces on a wire rack over a baking sheet in a 375°F (190°C) oven or toaster oven for 8-10 minutes, until heated through. This brings back most of the original crunch. For longer storage, wrap pieces individually and freeze up to 1 month; thaw overnight in the fridge before reheating.
What to Serve With It
This recipe is rich enough to carry a simple side. A few that work well:
- Zucchini noodles, lightly sautéed and tossed with a bit of the extra marinara
- Whole wheat pasta, tossed with olive oil and black pepper
- Roasted broccoli or green beans with lemon
- A simple arugula salad with olive oil and lemon juice
Common Questions
Will the breading actually get crispy without frying?
Yes, but it’s a different kind of crispy — closer to “crisp-tender” than the hard shatter you get from oil. The wire rack and a light spray of oil on top are what get it there; skipping either one noticeably softens the result.
Can I use chicken thighs instead?
Yes. Boneless, skinless thighs work well and are more forgiving if slightly overcooked. Pound them to an even thickness the same way, and check temperature a few minutes early since they’re usually thinner.
My chicken came out dry. What happened?
The most common cause is uneven thickness — thin edges overcook while the center catches up. Pound the chicken to an even ½ inch before breading, and pull it at 160°F since it will continue cooking slightly as it rests.
Can I make this ahead for a dinner party?
Bread the chicken up to 4 hours ahead and refrigerate it uncovered on the rack — this actually helps the coating set. Make the sauce ahead too. Bake just before serving so the crust doesn’t sit and soften.
Is the sauce necessary, or can I use store-bought?
Store-bought works fine if you’re short on time. Look for a brand where tomatoes are the first ingredient and added sugar is low or absent — some jarred sauces have more sugar per serving than dessert. The homemade version takes about 15 minutes of mostly unattended simmering, so I’d only reach for jarred on a genuinely rushed night.
Final Notes
The difference between a good oven-baked chicken parmesan and a mediocre one usually comes down to three things: drying the chicken before breading, using a wire rack instead of a flat baking sheet, and not skipping the oil spray on top. Get those three right and the rest of the recipe is fairly forgiving.
If this one worked for you, you’ll probably like my other lightened-up versions of healthy comfort food , check out the rest of the recipes here Blog – Healthyumami